Nova Labs
- on 05.17.19
- Astrolabe Project, Nova Labs
- Comments Off on Nova Labs
![]()
Back when I started this project, I looked into local workshops and maker spaces to see if any would enable me to do the sort of work I wanted to do. At that point I didn’t have the time or resources to make it happen, so I stuck to paper.
Starting last year, I found I was able to free up the time to devote to the best of the local maker spaces: Nova Labs, in Reston, Virginia (nova-labs.org). Nova Labs boasts a full wood shop, a well outfitted metal shop and two industrial laser cutters, along with a host of other tools. Pretty much everything I need to build anything I can imagine.
More than just a place to work on projects, it is a community of people in love with building things: Projects I’ve seen in work there range from the mundane, to the amusing, to the amazing. The sense of community is strong, and there is always someone to bounce ideas off, or ask questions of.
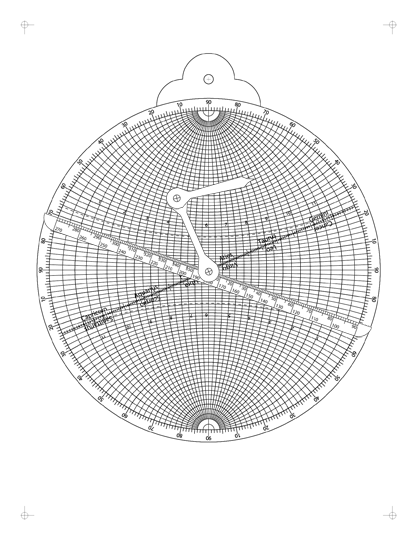
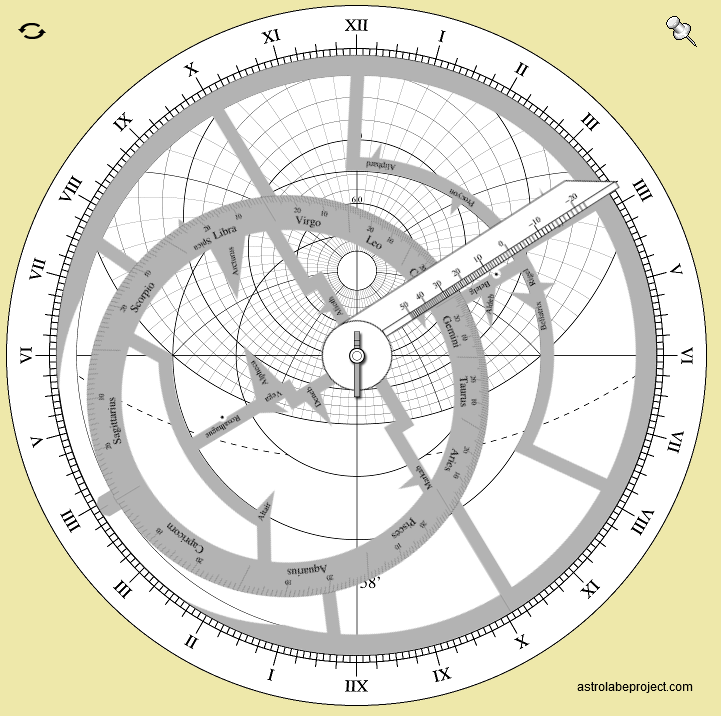
Initially my focus was on the laser cutters. They are the ideal tools for turning my postscript files into finished objects. Converting .eps files to the needed .dxf files is a bit more of an art than a science, but trial and error is a good and patient teacher, especially if you keep good notes.
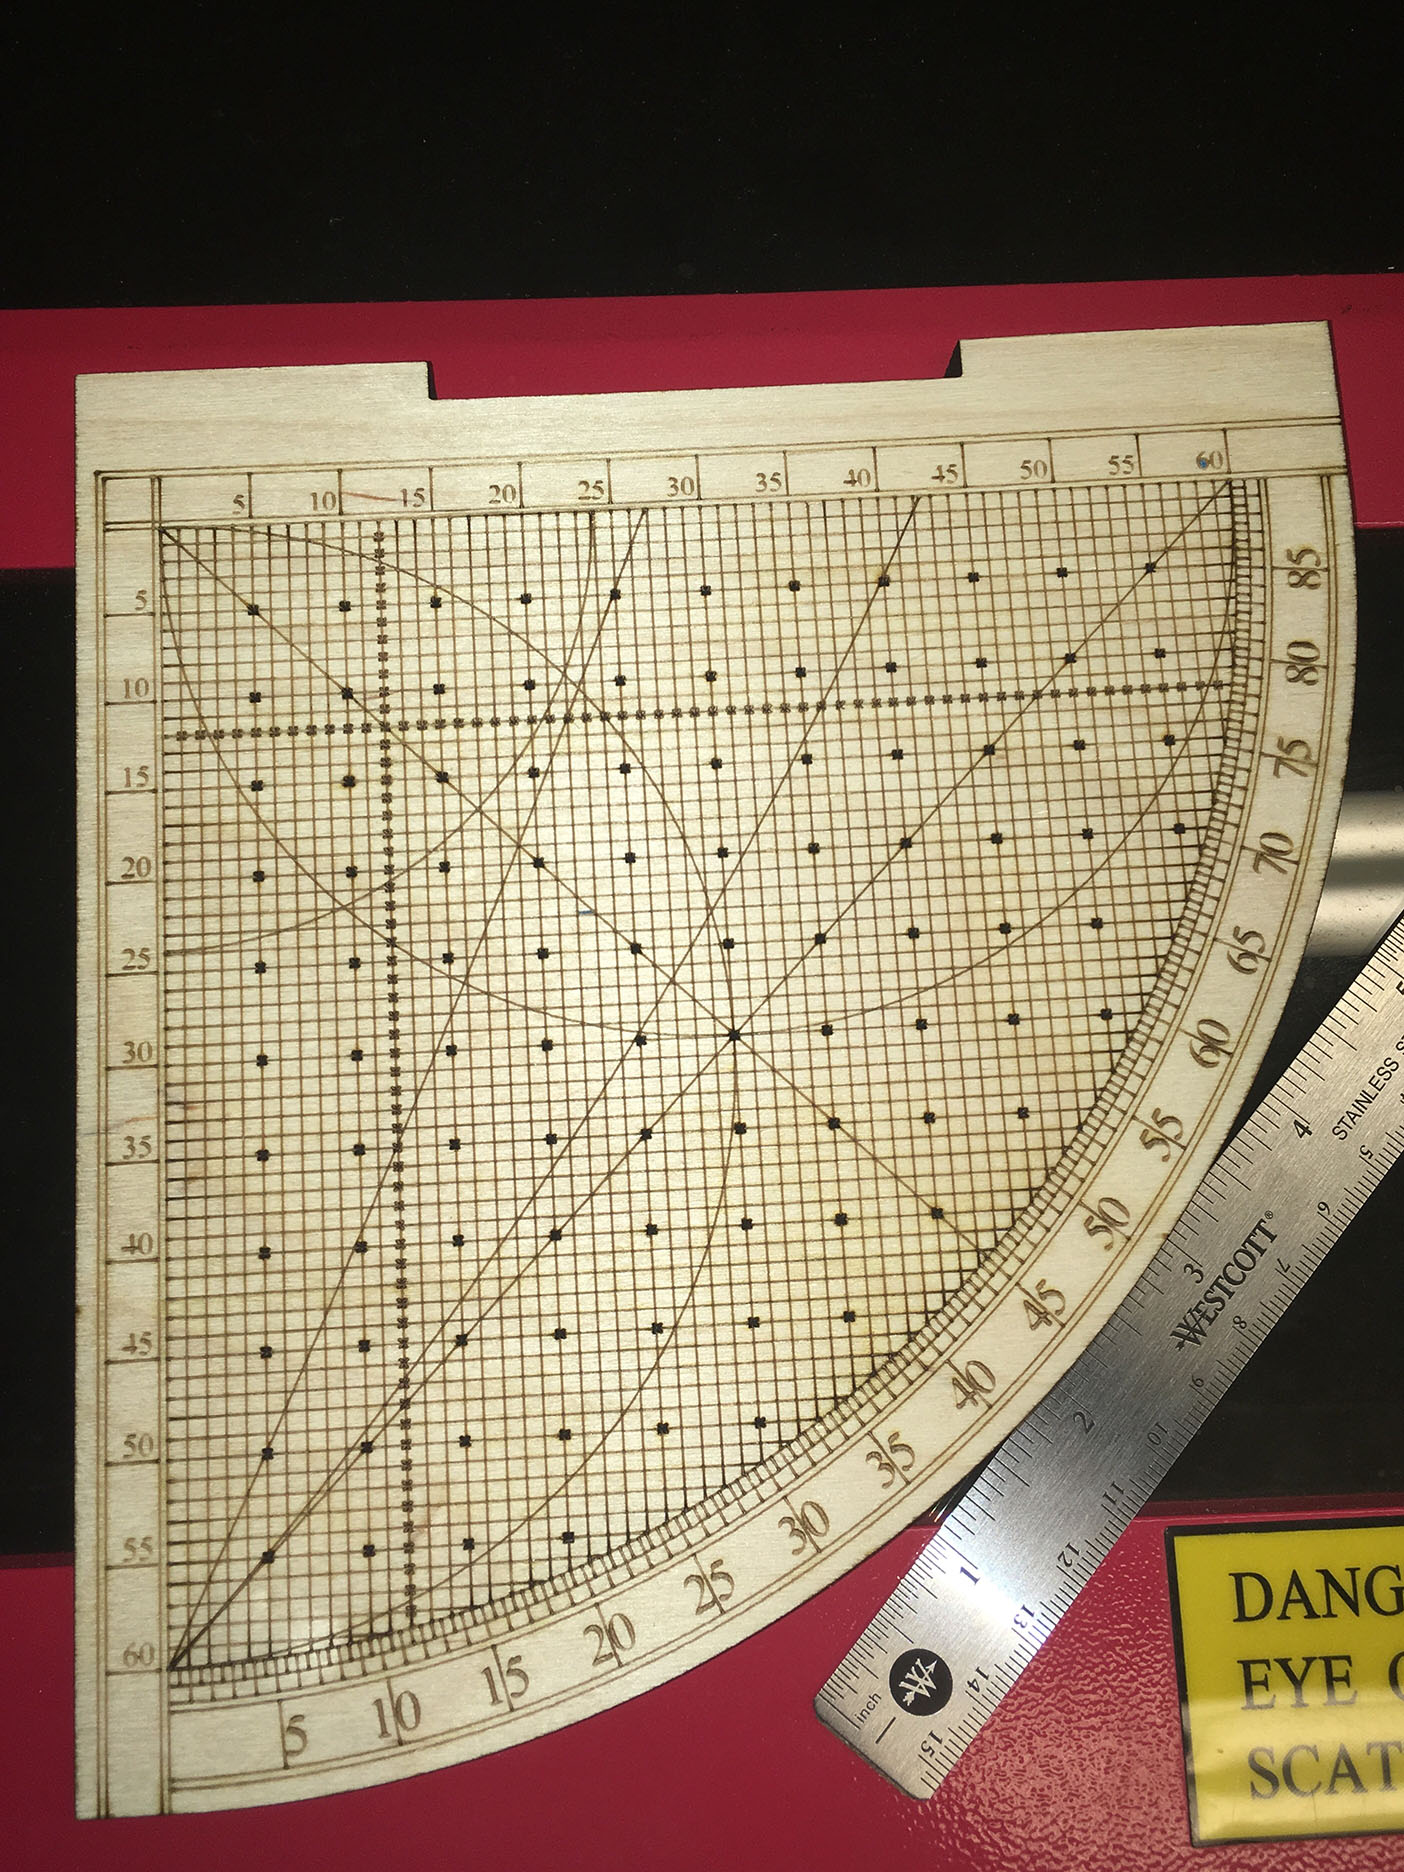
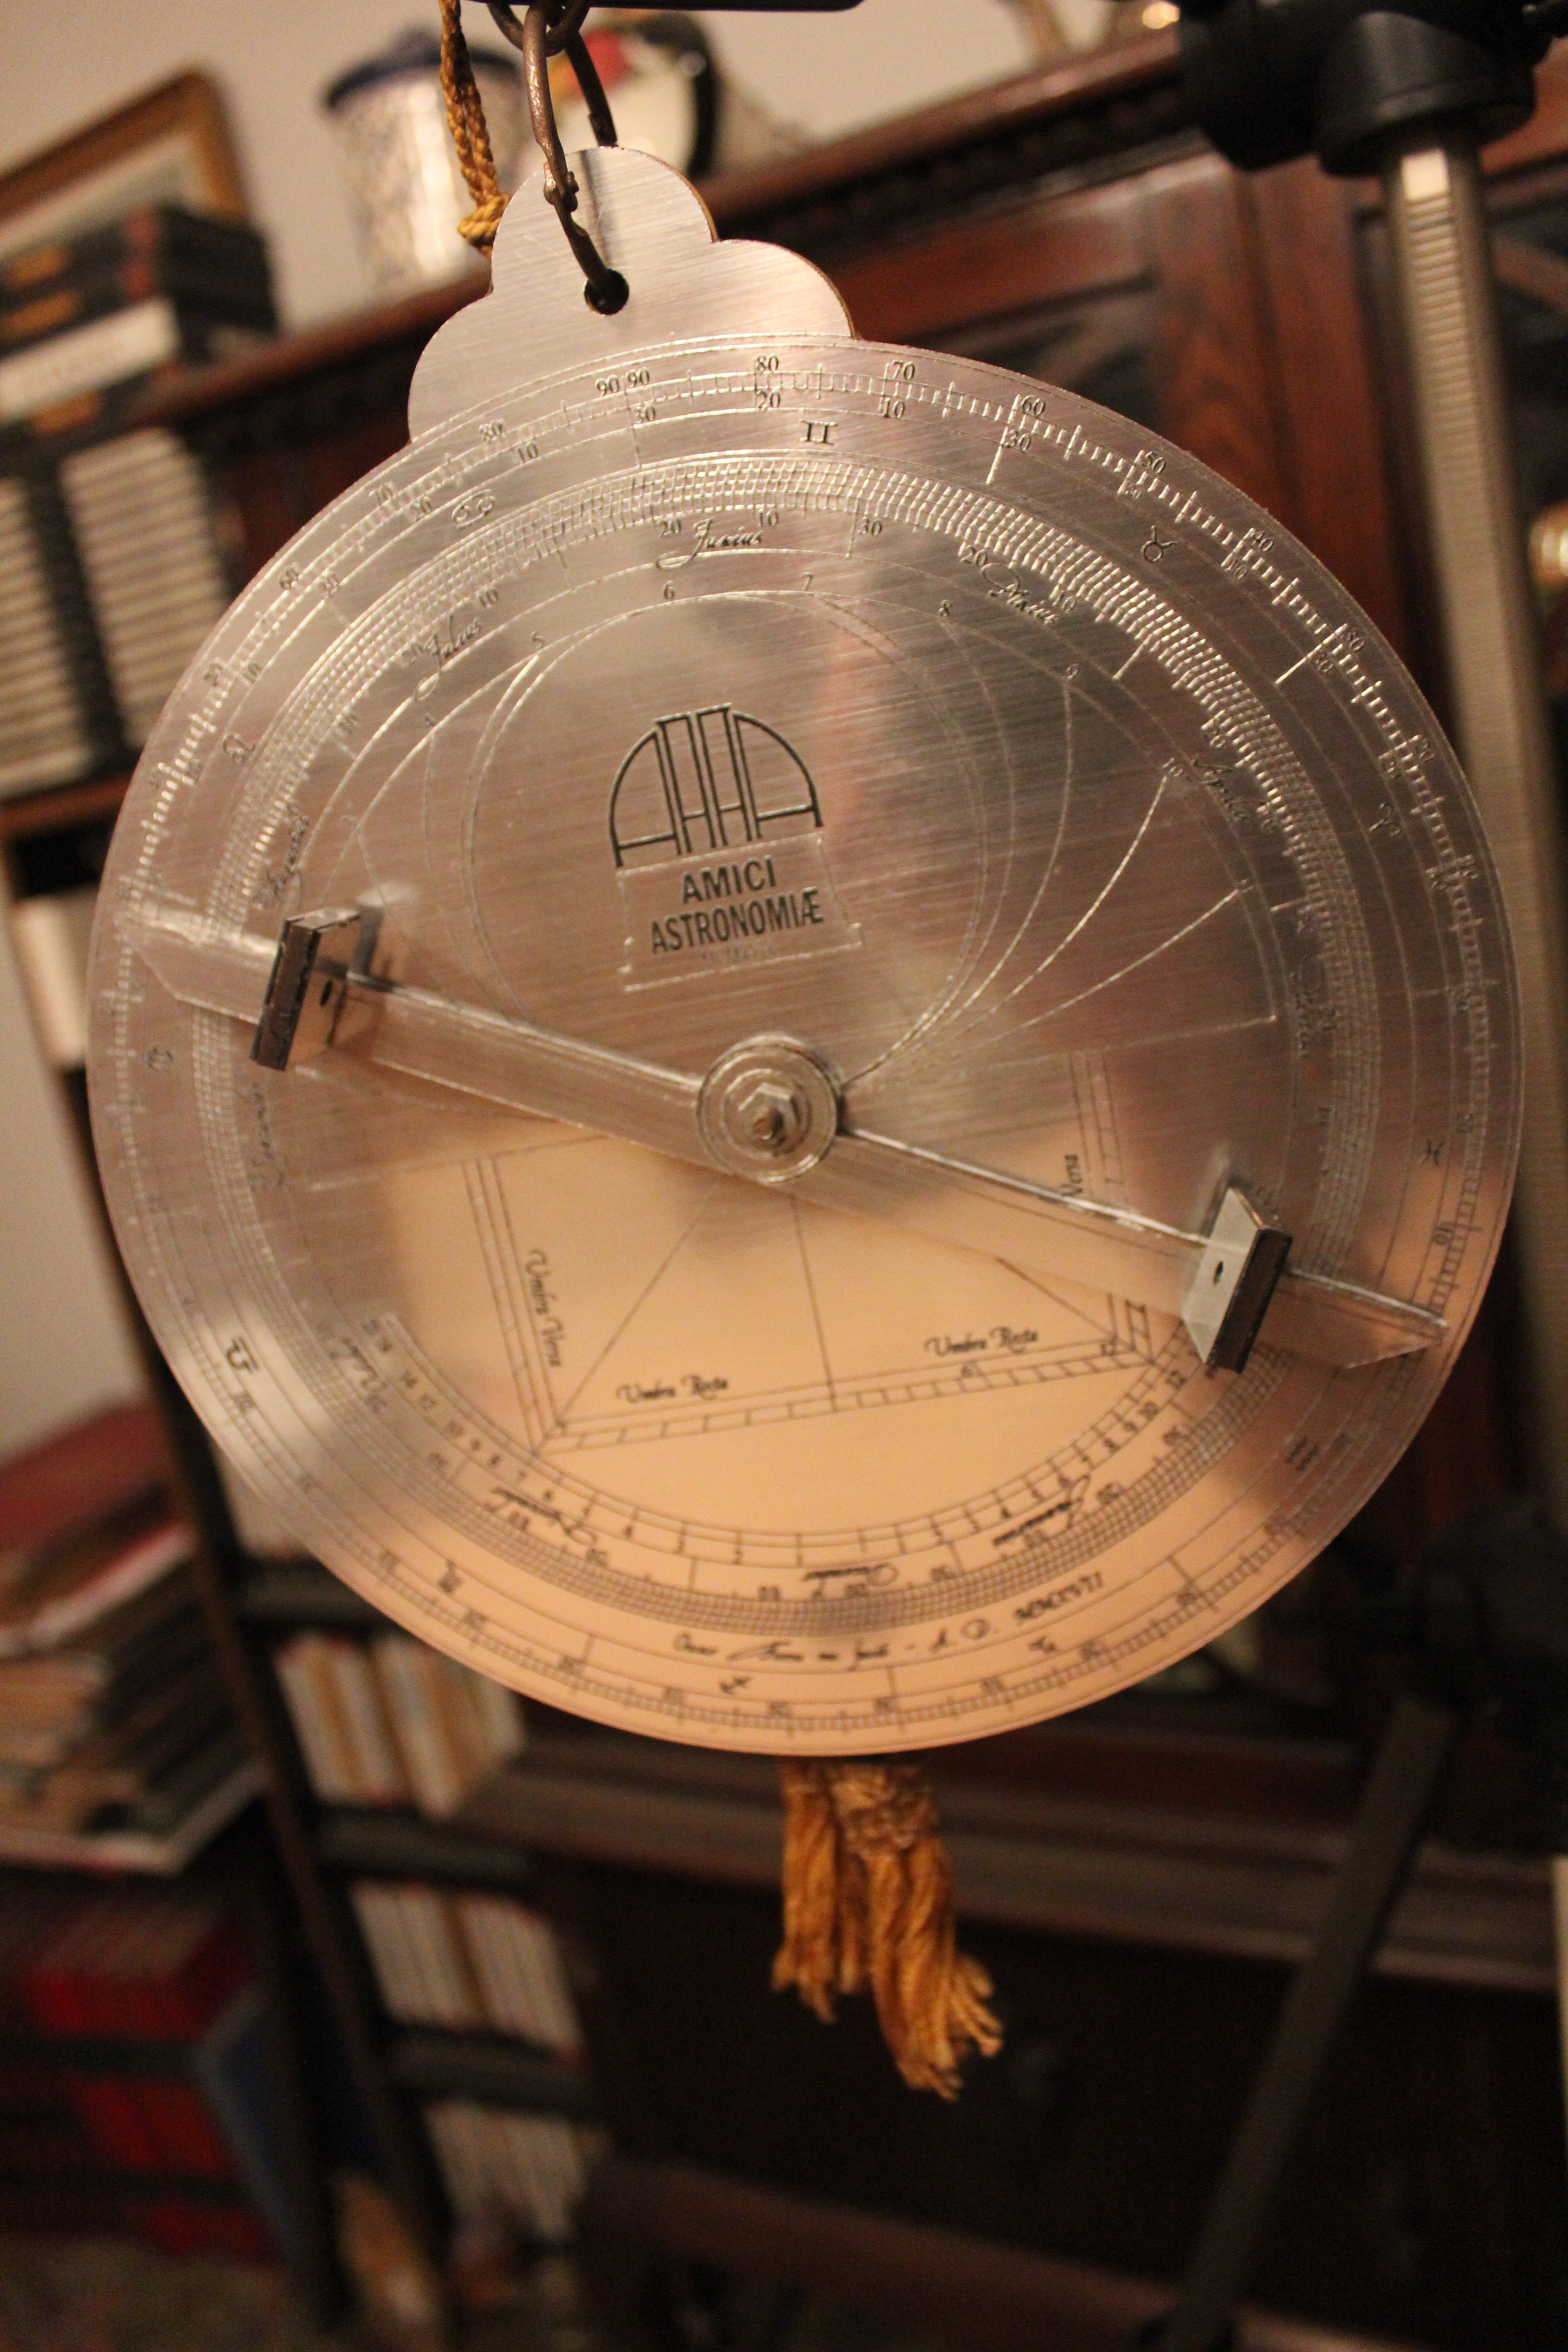
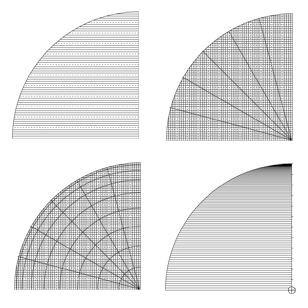
The first project I tackled was the sine quadrant: Single piece with no moving parts, so straight-forward to cut. I worked in wood, craft plywood in particular, as it was readily available. The result was encouraging.